Tag Archives: FREEHANDED IT BITCHES!

Foxy Ladies – project 29

Standard
Foxy Ladies – project 29

Remember the days when ladies used to wear little dead creatures, faces, feet and all, draped about their necks?

Yeahmeneither. I am much too young.

Well, I probably remember when old ladies occasionally did it. I definitely recall when such things turned up at garage sales full of vintage clothes. In fact, I, er, bought a little mink back in the days when I was a college student with a wild assortment of vintage, new wave, proto-goth and own-personal-style wearables. It had a little hingey thing so it could bite its own tail to secure it as you wore it.
Even irony can’t carry off dead things for very long, though, so it has been long gone.

At any rate, I’ve noticed foxes are a Thing now. They have possibly become the New Owl. I recently saw a sweater in a catalog which had a knitted-in design that looked like a fox stole, and I thought CUTE! Ironic dead animals without the animal death!

Which got me to thinking about the merino wool sweater I bought many years ago at the Burberry outlet in Vermont. Gorgeous tweedy russet, my first wool without itch. But it was a size that is distant history, plus pullovers are not my speed anymore, since tearing them off at the first sign of a hot flash is not the most discreet move. So I started playing with the notion of making my own wee fox, starting with an amazingly thick felted raglan sleeve, which already had a critter-suggestive shape.

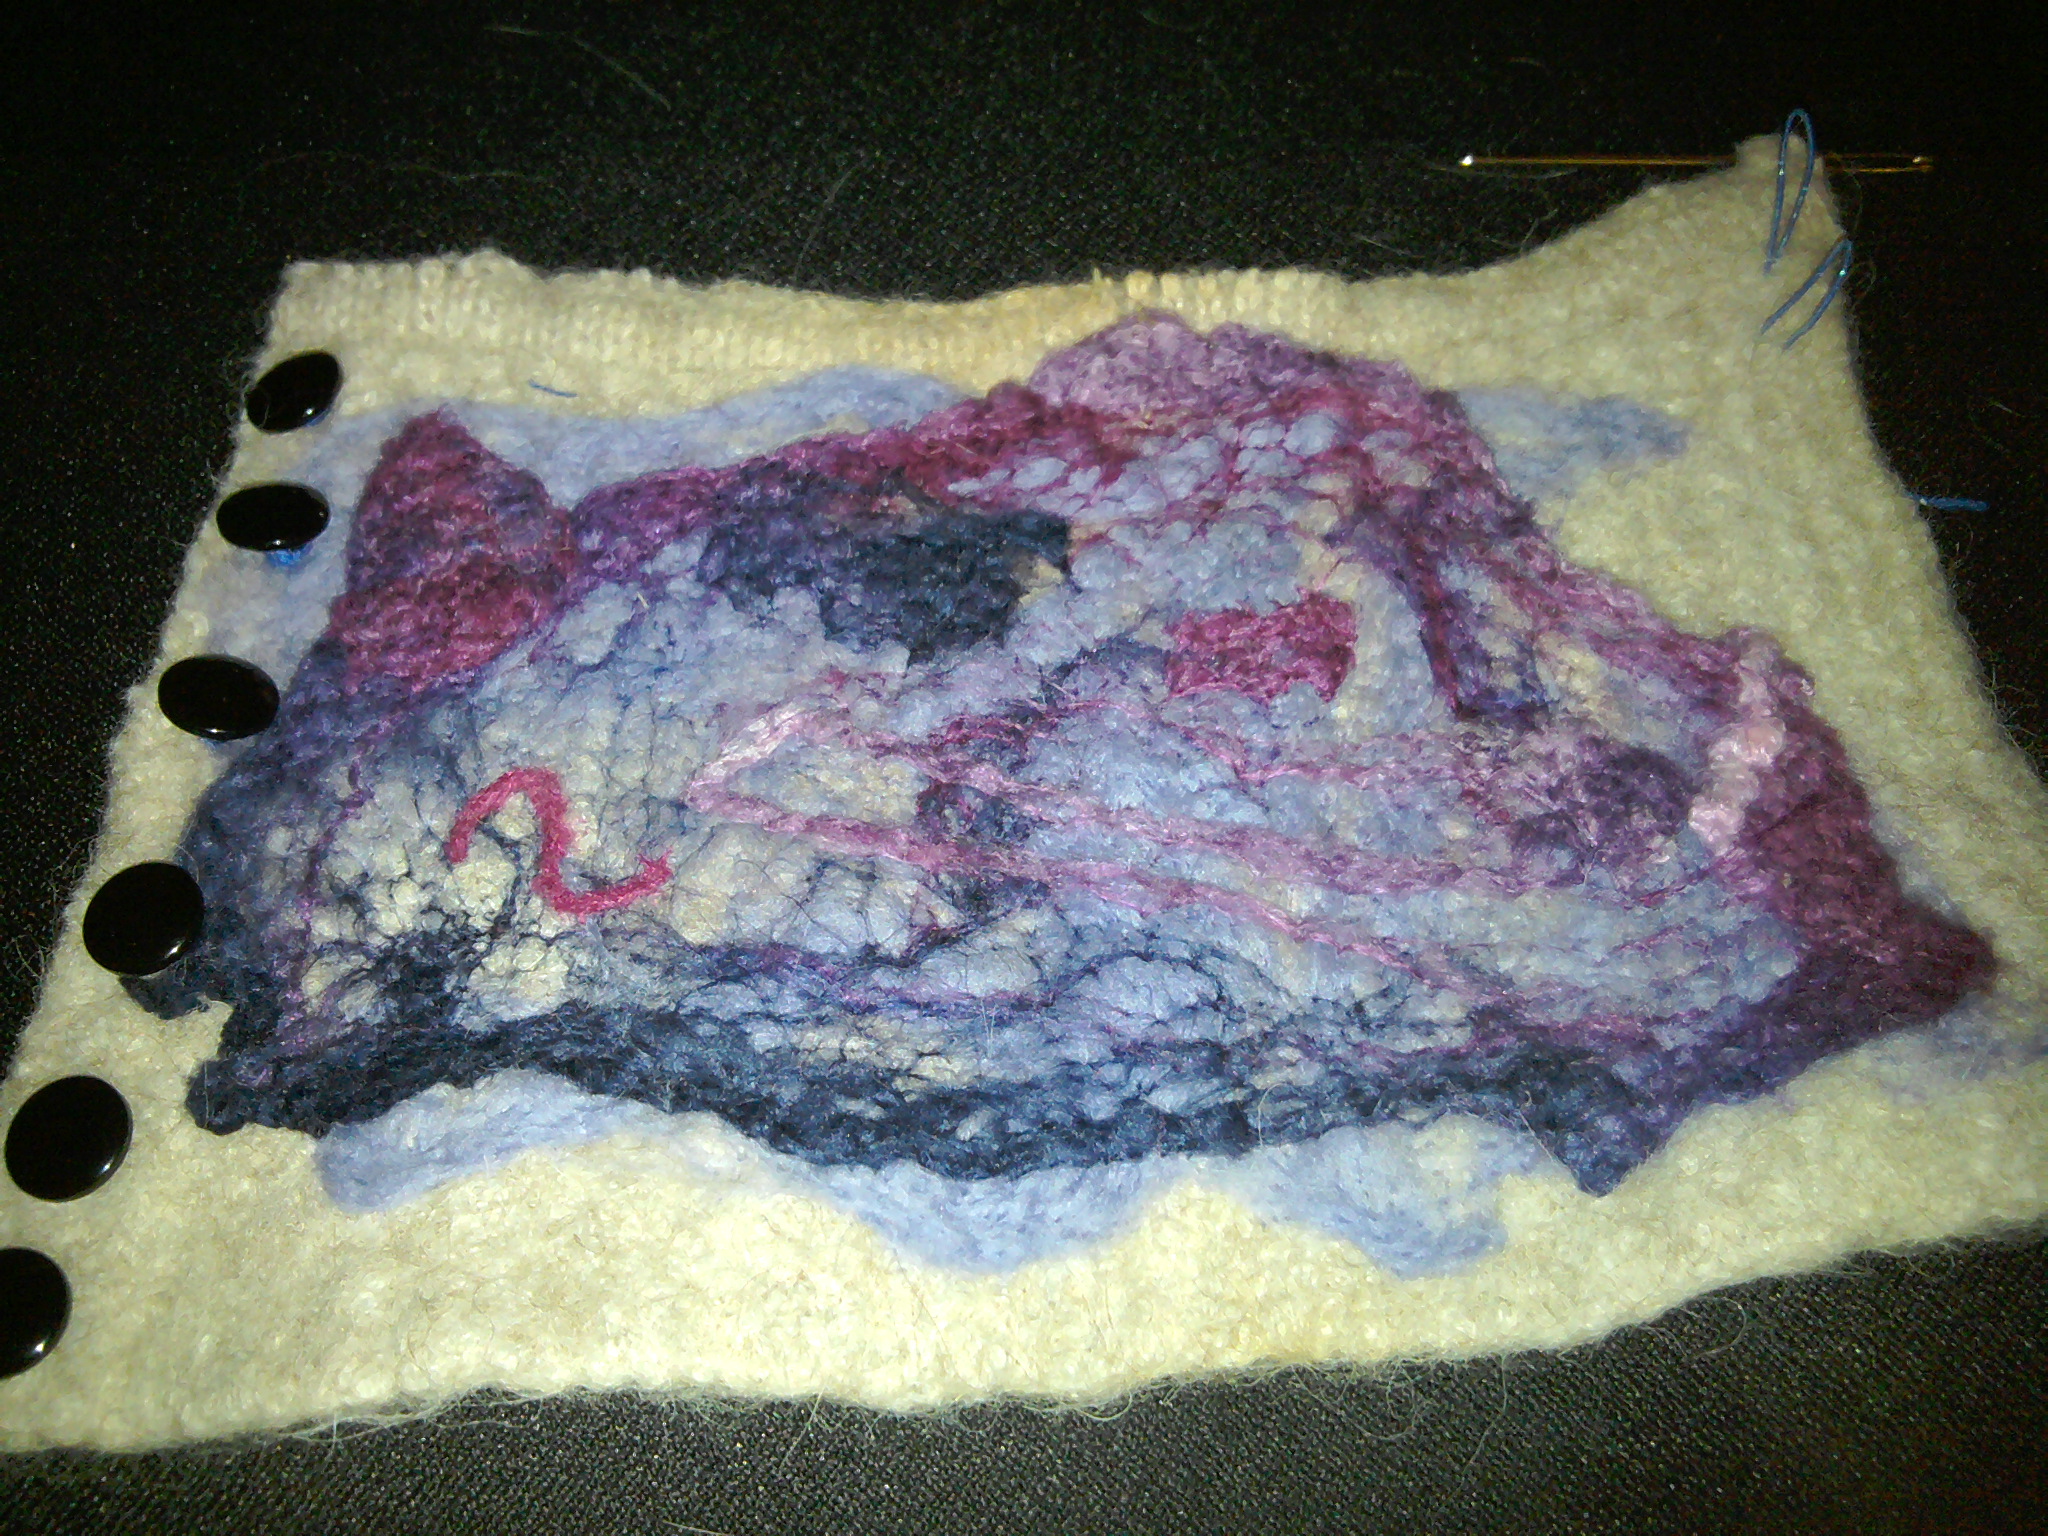
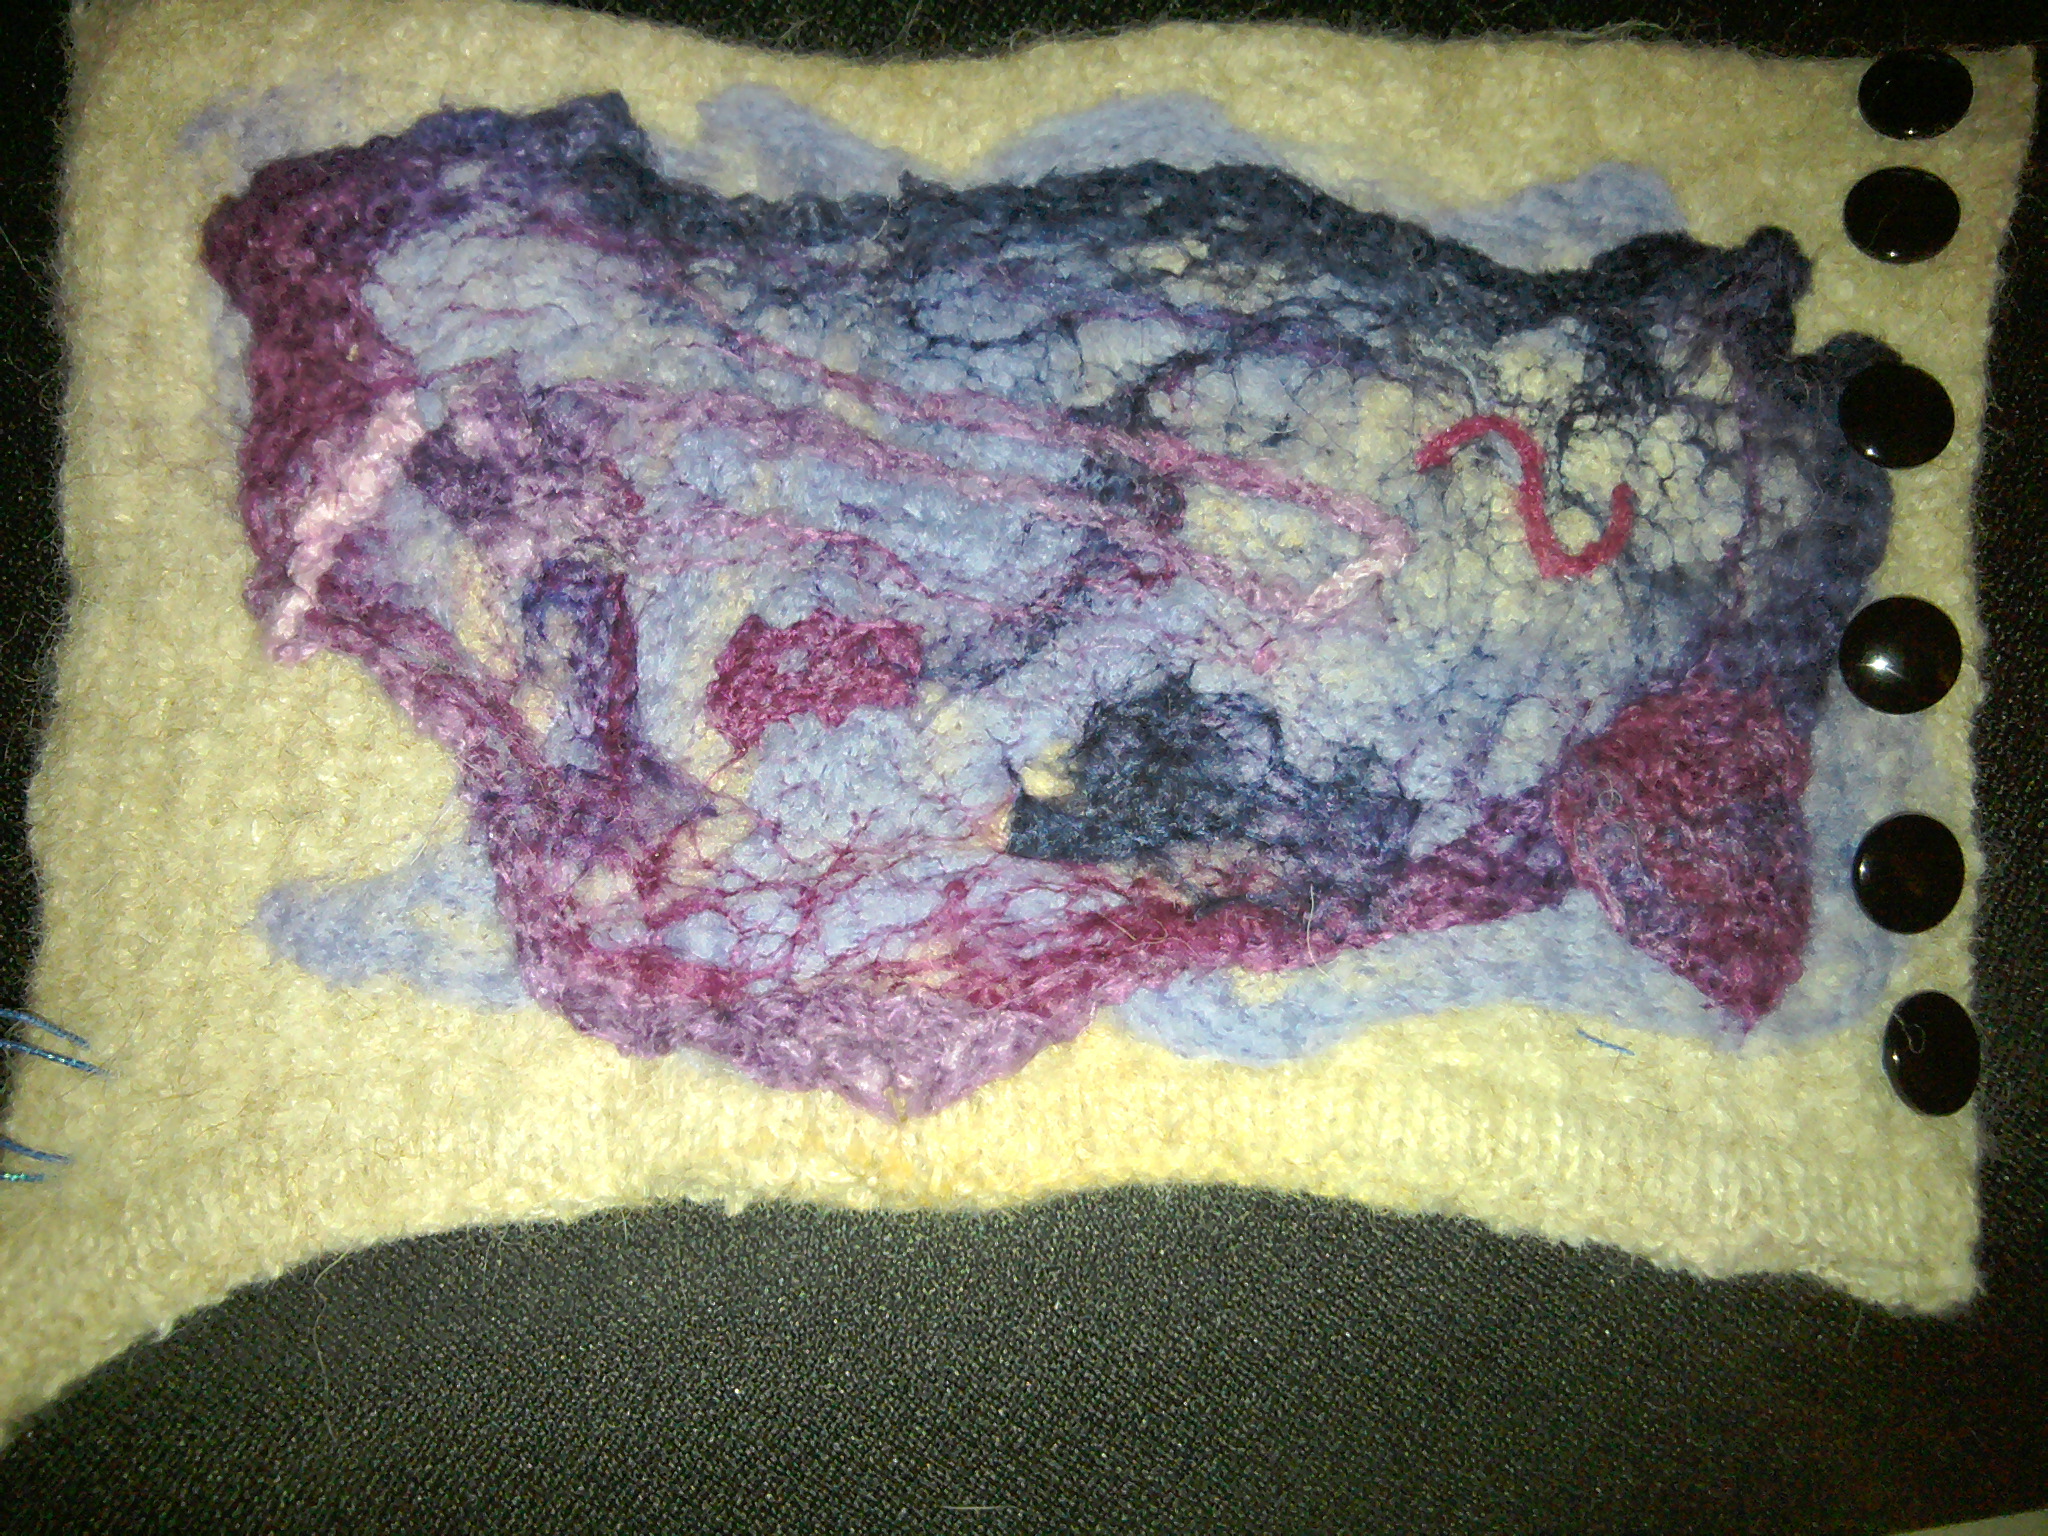
I kept looking around online for a pattern, but most of those were for knitting or a stuffie, neither of which was helpful. After searching and considering and being very nervous about the whole thing, I took it to women’s art night at the local arts center for moral support, where I hacked one of the sleeves free-handed to make a fox-shape. It came out encouragingly well. I got a tail out of the same sleeve, then cut four legs from the sweater body. All of this was eyeballed and then cut freehanded, and at no time did I feel terribly certain about the whole thing. The tail, in fact, I amended a bit when I looked at some fox pictures online to see how much white I should put at the tip. The ones I looked at had a broader tip than I had made, which was rather pointy. I went into my stash for a white felted sweater, and used the sleeve to create that brushy effect, leaving the seam uncut so I could surround the original tail tip. I had some glossy white non-wool roving in my stash, so I needle felted that onto the white part to give it a more dimensional feel, and obscure the hard-lined border between the russet and the white. I dithered about whether to felt in some white around the nose area to give my fox a narrower looking face, and I’m still uncertain whether I love it or not.

And speaking of eyeballing it, I finished it off with the obligatory glassy eyes, which I got from the hobby store. I measured the distance to get them even, which is the first and only thing I measured in this whole project. After that, I sewed on a couple of pointy little ears, and some velcro hooks under the chin — the felt itself provides the loop part.

So…the finished item:

Advertisement

Preview: random commentary to come

Standard

Third attempt here; WordPress apparently does not approve this post.

I keep opening the Add Post on my browser window, and then freezing up. Not good. I do have stuff to say, but I haven’t gotten any crafting done. I was considering myself ahead of things last weekend, and I had a guest for the weekend. Though the week I’ve had some intermittent vertigo (Monday was all day, other days more come-and-go), which led to me missing art group night. That’s a bummer, since we don’t have group on the last Wednesday of the month, and I’ll be out of town the next Wednesday. I do have a project I plan to finish up and post today, and I need to plot out what’s next.

And also, I got a tattoo yesterday that’s going to complicate my usual routines for a couple of weeks, which I didn’t really think too much ahead about. It’s on the inner part of my right wrist, and I’m not supposed to touch it or submerge it in water, which is making me rethink a lot of movements I never think about. But I’ve been having some ominous twinges in my right shoulder and wondering how I’ll cope if I eventually have to have surgery (something I experience on my left shoulder), so maybe this is just good practice.

But right now I’d like to write about epic disasters, disappointments and the like. Because just about everyone has seen the story about the elderly church lady who “fixed” the fresco in her church that had seen some damage over the years. Most of the accounts I’ve seen so far have few details, and being a story-brained person, I want to know allllllll the answers. I was planning to write this now, but I just ran across a bunch of delightful comments about it via a friend’s Facebook, so I want to get permission to quote them. Have messaged, am waiting.

Maybe I’ll do some crafting now.

Raclette, meet rack

Standard
Raclette, meet rack

Last winter I discovered raclette, the absolute perfect food. Potatoes, melted butter, melted cheese. What’s not to love?

Ah, that. The pure liquid fat dripping off the fork and right onto my chest. And the plain t-shirt I was wearing for the first time. Raclette, just like salad dressing, likes big busts and it cannot lie.

Solid color tees, so great because they go with everything, are always the most endangered item in my closet. If they make it past a third wearing without being consigned to the pile of formerly wearable at work clothing, it’s a minor (and temporary) miracle.

My Pinterest board titled “T-shirt Renovations” is chock full of ideas for t-shirt fixes, so I thought I would share some of my attempts to rescue splattered tees.

The first one I did quite a while ago, shortly after the Raclette Incident. I found a perfect stencil in a pack I had bought, using my oil paint Shiva Sticks. The bigger circle in the center is right where the raclette spot was. It filled in nicely (though the iridescent charcoal and silver paints came out looking pretty matte black and grey on the cotton jersey).

Hit me with your Shiva stick, hit me, hit me!

Until it went through the wash. Then the paint over the grease spot faded out. I started drawing it in with a Sharpie in a moment of boredom, but I figured that might not end well. I have had some thoughts on how to deal with that center bit, but it involves a little something I have lost track of and I didn’t want to go buy another (and the hardware stores are closed on Sunday anyway). It’ll make a return engagement when I find the missing piece and get the project done.

Just recently I saw a P.S. — I made this! post about spraypainting a top through a yard or so of lace. So happens I bought 2 lace curtains at a Goodwill recently for under $5 total, so I cut one of the panels and spraypainted copper fabric paint onto this brown tee. The result is so subtle in person that the lace effect is pretty lost, but it looks like the stain was taken care of.

Um, well.

Neither thing appears to be true in this photo. Haven’t decided if it needs something further, or if I should just wear it as is. Since it’ll be 97 degrees F tomorrow and this has long sleeves, I have some time to think.

I also have a big piece of painted lace to use on some project.

I have some thoughts on that, too.

This last picture is the t-shirt rescue I like best. I’ve seen this one on Pinterest too. You make a design with the Chlorox pen on a colored shirt, let it rest 30 minutes, then wash. I freehanded the design, based on one of my favorite ZenTangle designs, the henna drum. I simplified it way down because the fine point of the double sided bleach pen is still pretty wide — it’s for stain treatment and not drawing, after all. There’s bleed, but I still love how it came out.

Life’s a bleach and then you dye.

I’m really looking forward to wearing this one.

East meets vest; Project 17

Standard
East meets vest; Project 17

This embellished denim vest is a project that I’ve been working on for a couple of months on and off. Both the vest and the fabric came from thrift shops in Austin. The print fabric came from a silk tunic of the type Indian women wear, which had some ripping at the sleeves.

It’s certainly proof that my hand stitching doesn’t get any better with practice, though in my defense the vest is a thick and unwieldy piece to sew. And it’s definitely proof that I need to get over myself and start using the sewing machine. This would have been done in a day if I’d done so, and the stitching would have been better, and I wouldn’t have found myself with a big fold of off-kilter fabric as I neared the end, as it would have been easier to pin properly. I took it back and forth to various places to work on, and hand it folded or rolled much of the time, with just a pair of pins to keep things in place right where I was working. I worked on it at art class, once during lunch break at work and carried it around at Wiscon but never pulled it out once.

Not the ideal way of working, but I still think the result is cute and wearable, and I don’t think the flaws will be that visible unless people are up close looking for them.

But yeah. Next big project like this (and I have one), I’m going to get that sewing machine figured out. The only reason I’m being so chicken about it is that I haven’t touched a sewing machine in decades.

Anyway, the result:

Not bad for someone who doesn’t know what she’s doing. But seriously. This took MONTHS. So using the sewing machine next time.

I am wicked tired and almost went to bed after posting just the one photo, but I’m sure the mistakes are what you come for, yes?

Sometimes freehanding not so awesome.

I wanted the gold trim to line up with the bottom of the vest (as much as a straight piece would line up with a curved vest), so I had to come up with something to get rid of the excess material, so I just folded it into a little dart and hand sewed it. Not the greatest solution, but it worked, and the colors and the print hide a multitude of sins.

Yeah, that little tuck.

Okay, I’m thoroughly knackered, so that’s it for tonight.

Oh, and I also sewed a little piece on the front, too. It may need something more, but I’m considering it done for all intents and purposes.

A little freeform circle on the front pocket. Needs salt.

A quick cuff upside the head (Project 16)

Standard
A quick cuff upside the head (Project 16)

Since I forgot to transfer the pictures I made of this week’s project to my computer, I couldn’t post my project on the usual day.

This is a pretty simple and quick craft, since I was away last weekend visiting my friend on the other side of the state, and then this whole week has been taken up with Wiscon art show prep.

My friend and I had a quick bite at Alterra coffee before she had to go to her pre-performance call, and I stuck around and had another tea and did some quick needle felting. I made three cuffs, all cut from the ends of sweater sleeves. I left them in a circle rather than fussing with figuring out a closure system. My only problem was the fact that the size of the felting mat (which is actually a brush that holds up the material you’re felting to while letting the needles penetrate), while still small, is big enough to stretch out the cuffs a little bit. I used two balls of felt for the bigger decoration — one looks like yarn but is just roving that’s about a finger width around instead of a largish skein; the other is actually yarn with fatter spots and thinner spots. I just freehanded it, winding the bigger pieces of roving into various designs including a handlebar mustache, and putting little designs around the others.

Two by two…

…hands of blue.

Another thing I used was a little disk of lint that came from the lint trap at my mom’s house when I was felting sweaters there. She has a lint trap that fits over the agitator, and it formed several adorable button-sized disks, so I saved them and dried them. The two-toned circle on this one came from one of those lint bits.

Smaller bits from the lint trap also make nice starters for wee paisley. Just shape it a bit more, pop another color in the center, and there you are.

And here’s the third one I made while perched at the cafe waiting to head to the concert. I call it the Karwacki, after the cop with the astounding handlebar ‘stache who presided over my first car accident.

I went a little wild with it, size-wise, so you can’t see both ends of the ‘stache in the same view, but you get the idea.

I have a writing project I’ll be doing for an upcoming project, but it probably won’t be done in the next week. I’m thinking something fairly low-key is still a likely outcome. It’s been an exhausting month, and other aspects of life are fairly tiring just now, too.

Can I take an incomplete? Project #13

Standard

I spent a lot of my weekend moving furniture and cleaning the carpet in my living room, or recovering from doing so. And despairing over how the process of cleaning something could create such utter chaos in my house and hoping I could get things somewhat sorted by the time I have company next weekend. But I finally did settle in while waiting for the carpet to dry, and finished a project I’ve been working on for a while.

Well, not quite…

I’m close to finished, but I need another four buttons to finish my cuff bracelet, and some kind of closure that uses them, so I’ll have to hit a fabric store or the dreaded Walmart. (All right, I admit it — I bought the original eight buttons at Walmart. So yes. That is where I will have to go.)

Once more, my fondness for using bits and bobs and irregular leftovers bites me in the butt, but I don’t think I care. I had half a cowlneck sweater in alpaca wool left over from another project (the Occupy tent? Can’t quite remember), so I figured it would make a cool cuff, though it’s not exactly a fit.

When I was in Austin, I bought some silk hankies at a fiber store. They aren’t actual hankies but the silk pod from a cocoon that’s been stretched out over a square frame. The pack I bought was dyed a delicious mixture of purple and blue called Spilled Ink. I thought that would make a great thing to use as an overlay on the alpaca, so I attempted a wet felting, adding some wool into the mix to get fibers of both the silk and wool sticking to the alpaca. Not a great success (or even a medium success), as they just peeled off the alpaca. But I liked where it was going so I pulled out the felting tool and needled away.

Image

The matter of closing the thing is probably the trickiest of this whole project (yes, it’s free-handed). I liked the thought of a row of tiny buttons, very Victorian in that fiddly sort of way. My first thought was that I’d make a loop of elastic on the opposite side and slip them over the buttons, but I don’t think I like the way it looks.

Image
Made the decision to put another row of buttons on the opposite side instead, and I guess I’ll try some kind of lacing system to get the thing to close. I’ll have to report on that when it’s finished, but I think I have a way to get it to work. Maybe a couple of options.

After adding the last bits of roving into the design, I am pretty happy with what I have. I did sew on a couple of wee little beads, remarkable more for the source than anything else. A year or two ago I bought an armload’s worth of wee beaded bracelets on eBay that Eliza Dushku had donated to one of her favorite causes. (I don’t even want to say what I ended up spending because I could not allow defeat.) Some of the stretchy little bracelets are so stretched out they’re just loose strings, more or less, so I had planned to use them in various projects, but this is the first. I put in three, just for a mysterious bit of sparkle, and I might add more later.

Image
Alas, I got nothing done for the art show at Wiscon, which had been one of my major goals this weekend. I have the stash of silk scarves, of course, but I wanted to have a few different types of art up there too. Well, after I have finished moving all the furniture back into place and completely spiffed up the guest room. Ahem.

By the way, the color of the alpaca is truer in the second picture, not the yellowed first or third. My camera’s batteries died and so I had to use my phone.


And hey, as of today I’m one-quarter of my way to my goal. WOOOOO!

The Fast and the Furious: Project Post #12

Standard
The Fast and the Furious: Project Post #12

Even though I said I didn’t want to, I started sewing on one of the projects again. Made some progress, but realized I couldn’t possibly get it done today (tonight), so I grumped around and finally decided to try tie-dyeing a silk scarf with food coloring. I’ve never dyed with it before, but a crafty friend had told me she’s done it, so I thought I’d give it a try. I bought both kinds of food coloring, but went totally with neon for this one.

Everything I used, except water, vinegar and the microwave.

So basically, I just kinda made this system up. I did use the tie-dye method I’d learned in the class where I made last week’s project, the scarf with felting. Made little bobbles of glass pebbles tied off with rubber bands, most with one, but a few with two or more. I think I like the ones and twos best.

I have nothing witty to say here. Try back later.

I really liked the way the ligatures turned out in the tie-dying in that class, but was disappointed that I seemed to have lost those subtle details completely in all the sudsy water rolling and rolling to felt the fuzzy bits on. So I’d been wanting to use that method another time.

Or this one, either.

Wasn’t quite sure what I wanted to do from this point, where I’d squirted most of the bobbles with food coloring. Then I checked out the chart on the back of the boxes telling how to make different colors, and oooooohhh. Due to my ongoing love affair with teal, I picked that color and mixed the blue and green as directed for cake batter. I mean, I dunno. Then I poured on 1/2 cup of boiling water onto those color drops as it said in the egg dyeing directions, and I splashed a bit more vinegar than the amount they said (because I hadn’t noticed that they called for vinegar at all). Then I poured the boiling water with color onto the whole scarf and put it into the microwave for a minute. Again, I dunno. I just made this up as I went along. I might’ve given it more time, but I got nervous when I peeked at it and it was steaming heartily. (A touch of PTSD after burning the silk/wool scarf, maybe?) So I took it out and let it sit for a while.

Dunno if the steam will show at this resolution, but trust me.

Once it cooled down, I undid all the ties and hung the thing up. I’m pretty damn excited about it. Love that I can mix up some cool, non primary colors.

And there it is, fresh out of the microwave.

You can see the designs the ligatures made.

Neat, huh? The tighter you get the rubber bands all around the scarf, the more of those subtle markings you'll see.

And one more bitchin’ closeup.

So need to play with these colors some more. So so cool....

This is so what I needed today: a project that gets me fired up again and has me plotting what other things I want to try. I have a great idea, but I’m not sure how to execute it (uh-oh. That’s always the way that leads to disappointment).

Doctor, Doctor give me the news

Standard
Doctor, Doctor give me the news

Finished!! In all its hasty, half-assed glory!

With a break for a run for meds and groceries and another for a phone call with my brother, I got the thing done in about 13 hours.

There is an embroidery needle at large somewhere on the sofa, so that adds this week’s danger quotient.

So here are some process pictures and the finished project.

It's sloppier on the inside.

While I like playing around with six strands of embroidery thread, it can get hopelessly knotty on occasion. As it did way early in the embellishment stage. But y’know, this project was meant to have a screen-friendly microfiber partial lining, so I said to heck with teasing the whole thing out. It wasn’t going to budge.

My eye doc recently gave me one of those nice glasses cleaning cloths, which I figured would make a good liner to keep the scratches on the screen to a minimum. Unfortunately, not big enough to line the whole cozy. But microfiber is a bear to push a needle through, so it’s just as well.

Then I had some additional embellishments and the closure to add, and here’s the result. With trademark imperfection, but I rather like it.

Unfortunately the call box sign is a wee bit off kilter, but I am not going to mess with it further. Its imperfection is charming. Isn't it? ISN'T IT??

And here’s a closer view of the closure. The loop is made of elastic, which I had to run out and buy, since the package of elastic I remembered and dug up in my sewing kit had the Woolworth’s label on it. (!) Got some nice multiple-purpose 3/8″ white elastic. I had a brainstorm as I was contemplating how I wanted to attach the elastic loop. I took a set of Sharpies I’d bought some time ago and drew stripes along the elastic.

Remind you of anyone?

Like last week’s project, this was all repurposed stuff, or something from the stash except for the elastic, and I did actually have elastic, but it was a good 12 plus years old — well, five years older than that, because Woolworth’s closed in 1997.

So…very…tired… Am nodding off at the keyboard now, and I have work in the morning, so it’s nighty night for now.

And a moratorium on felt. Next week I’ll see what other types of trouble I can get into.

Ocupado!

Standard
Ocupado!

I’m thinking stabbed fingers and hand/arm/finger cramps count as danger

As I sit here waiting for a sumptuous lunch of fake-Kraft Mac n Cheese (I love its name in Canada even more–Kraft Dinner, aka KD), i am 99% done with my project of this week. (Which is fitting, and you will see why very shortly.)

I decided this was the perfect year to enter the annual birdhouse contest at a store called Phoebe’s Nest. But my initial thoughts were “I can’t think of anything to do!” and “My woodcraft skills are questionable!” Then I thought of something. Not a woodcraft project at all, but a tent, made of (this will surprise no one who has been following along so far) felt.

And like the wildass that I am, I freehanded the whole damn thing (which is occasionally obvious).

And I really really like this project.

Almost every bit of this is made of recycled materials, and the rest from leftovers from past or undone projects, which is one of the things that pleases me about it. The floor and side walls of the tent are made of a sweater I got at a thrift store and felted in the washing machine. I reinforced the floor by sewing a piece of cardboard from a mail order purchase between two pieces of the thick felt.

Two layers of felt with a piece of cardboard sewn between.

I made a frame of a heavier gauge wire from my “I’m going to make jewelry!” phase, slipping it into slits in the floor and sewing it to the tent walls.

Getting the frame in place--o hai thar, foreman!

And attaching frame and walls to floor.

The end flaps are made of a square of a burlappy sort of material that came in a bag of fabric scraps from the costume shop at American Players Theatre.

Pretty purple fabric, trimmed off a costume-in-progress at American Players Theatre.

Then I made the signs from pieces of another thrift shop sweater, needle felting the words on them. As you can see, my freehanding tendencies — and Eyeball once, cut multiple times philosophy — sometimes get the better of me. #Occupy has some serious kerning issues. I did better with the long banner, which may have been helped by felting in We and then 99% and then filling in the middle 2 lines.

The stark black stitching is intentional — those are meant to be tie-strap thingies.

Birds do twitter too.

So woo hoo! Finished! Except not. I really wanted there to be some things inside the tent. So I made a sleeping bag and a matching one that’s rolled up, and a red backpack. And I decided on one more thing, both to make the shape of the backpack less flat, and also because I didn’t like the empty backpack any more than I liked an empty tent. So I made a wee book to go inside. I used stick-on Velcro to put the pieces in place — hooks only, as the felt provides the fuzzy.

Personal effects.

One more bit of verisimilitude to go, and it will be done. So now, full of KD, I go downstairs to photocopy or scan (whichever looks best) the cover of the CD version of an album I owned in vinyl back in the late 70s. It came with a stencil so you could spray paint the cover everywhere, which was my inspiration for making a sign of it.

As it turned out, I photocopied it, but the copy came out black and white. So I added the incandescent yellow of the album graphics with a yellow sharpie. Mod Podged the whole thing onto cereal box cardboard and used staples and a bit of Velcro to place the sign at the mouth of the tent. And this is the version I submitted to the contest:

Occupy Birdhouse

And Tom Robinson, those songs are still pretty relevant today (sad to say). Rock on.

While in past years the birdhouses were all sold and donated to a fund to restore the local theater, this year they will be returned to the artists. So I plan to be showing this at Wiscon this year, where it will probably also be for sale.